11 Advanced Perspex Cutting Techniques: A Professional’s Guide

Perspex Cutting

If you’re an industry professional working with Perspex, a specialized form of Acrylic sheets, mastering advanced cutting techniques is non-negotiable. This guide aims to delve into those techniques that can elevate your craftsmanship from amateur to a Perspex cutting expert.

The Basics of Perspex: A Quick Recap

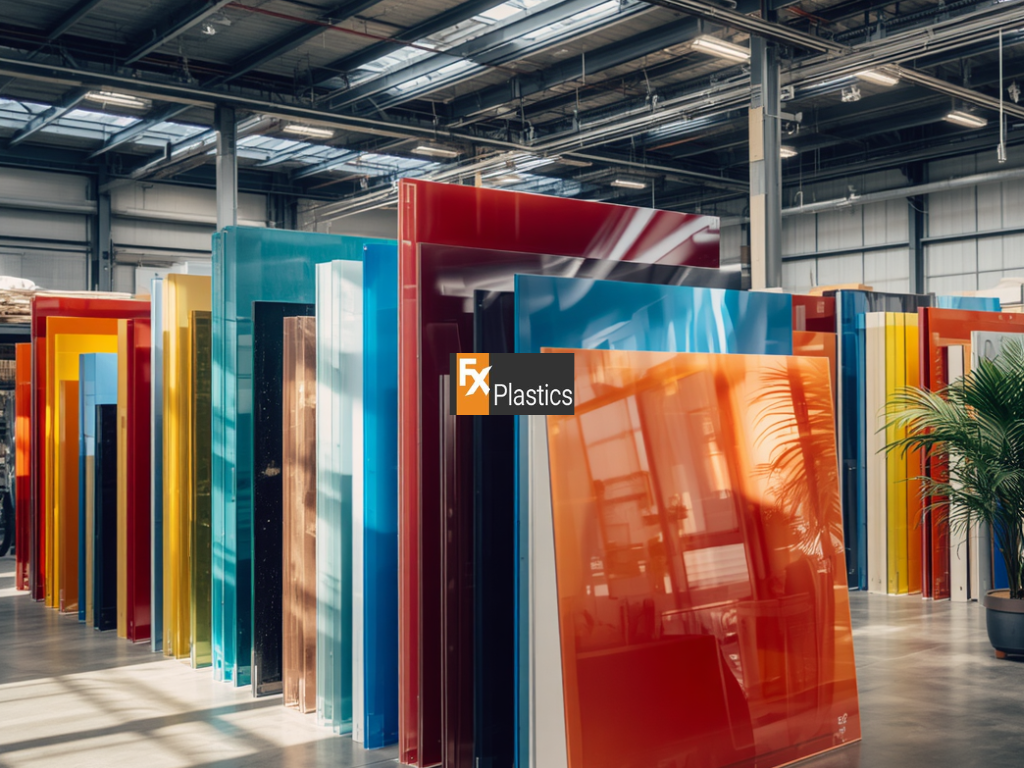
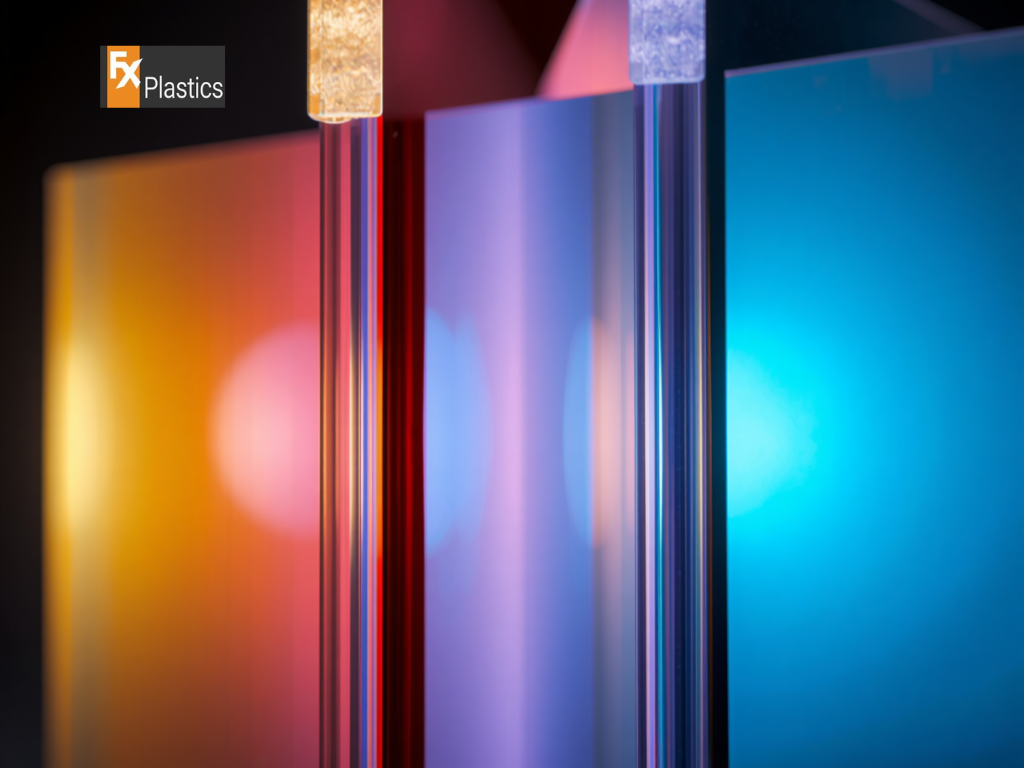
Perspex is an acrylic material that marries durability with flexibility, making it ideal for a variety of industrial applications. Unlike regular glass, it’s shatter-resistant and lighter, which explains its widespread use. When cutting Perspex, understanding its molecular structure can greatly improve your results.

  • Material Thickness: Perspex sheets come in various thicknesses, and your cutting method should adjust accordingly.
  • Edge Finish: The type of blade you use will determine the finish on the cut edge, affecting both aesthetics and function.

Laser Cutting vs. Traditional Methods: What’s the Difference?

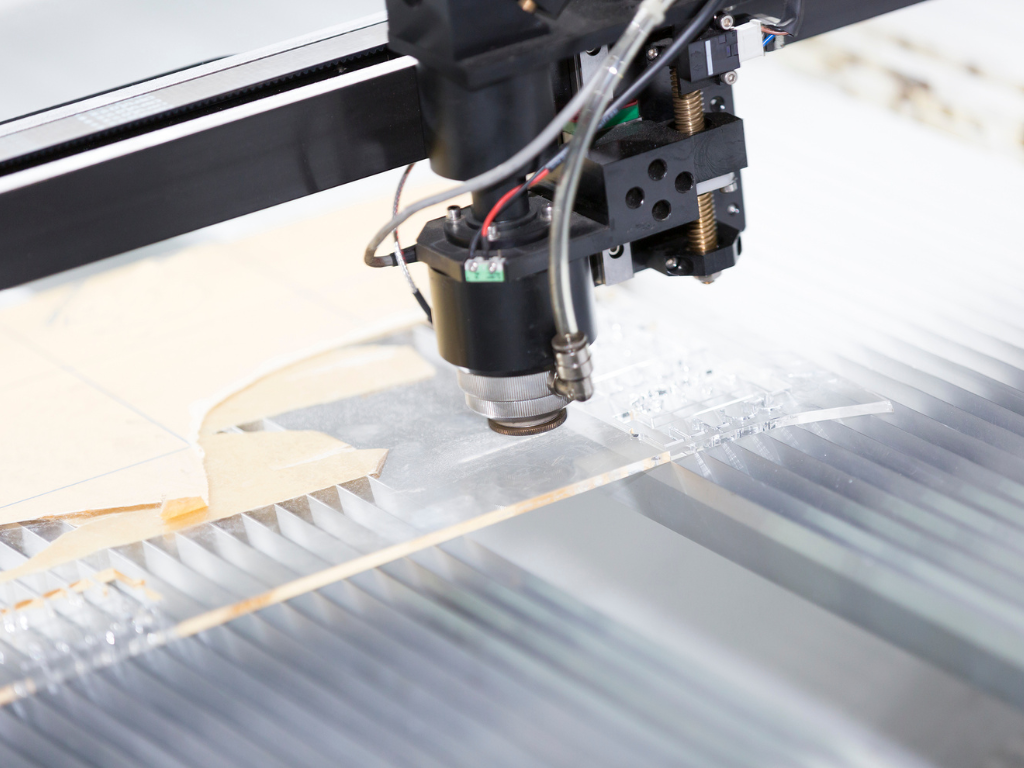
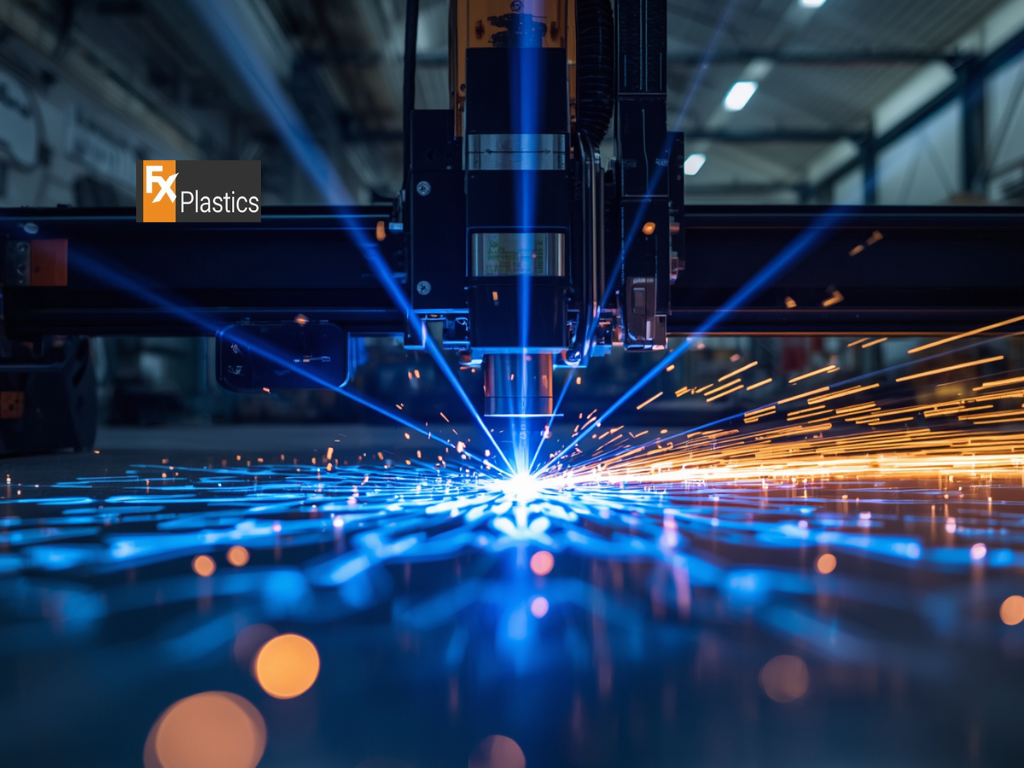
Laser cutting and traditional methods have their places, but how do you choose the right one for your project?

  • Traditional Cutting: Best for large-scale, straight-line projects. Band saws or jigsaws work well here but may leave rough edges.
  • Acrylic Laser Cutting: Provides an excellent finish and is best for intricate designs. The laser also seals the edges as it cuts, reducing post-processing time.

Cutting Tools: Going Beyond the Basics

Your choice of tool can dramatically affect the quality of your Perspex cut.

  • Blades: Carbide-tipped blades can prolong your tool’s lifespan and create smoother cuts.
  • Routers: For fine, detailed work, a CNC router with a ‘V’ bit can provide incredible detail.

Advanced Software for Design and Control

Optimal cutting often begins at the design stage. Advanced software can streamline your workflow, reduce errors, and improve efficiency.

  • Vector Design Software: This type of software, such as Adobe Illustrator or CorelDRAW, is crucial for 2D designs.
  • CAD Software: For 3D models, software like AutoCAD or SolidWorks offers more robust features tailored to Acrylic fabrication.

Temperature Control in Perspex Cutting

Temperature plays a surprisingly significant role in how well Perspex can be cut.

  • Too Cold: A colder environment can make Perspex brittle, risking cracks.
  • Too Hot: Excessive heat may cause the Perspex to melt, ruining the cut.

Multiple Axis Cutting

As projects become more complex, a single-axis machine often won’t suffice.

  • 3-Axis: Suitable for most straightforward projects, it moves in X, Y, and Z directions.
  • 5-Axis: Adds rotational movements, allowing for more intricate cuts without having to reposition the Perspex sheet.

Feed Rate and Spindle Speed

Mastering the balance between feed rate and spindle speed can make or break your Perspex cutting project.

  • Feed Rate: This is the speed at which your cutting tool moves through the Perspex. A slower rate might give you a cleaner cut but may also risk melting the material.
  • Spindle Speed: This refers to how fast the cutting tool itself spins. A higher speed often equates to a smoother cut but can generate excessive heat.

Actionable Tip: Experiment with different combinations of feed rate and spindle speed on scrap material before committing to the final piece.

Safety Measures in Advanced Perspex Cutting

While Perspex is more forgiving than glass, it still requires stringent safety measures.

  • Eye Protection: Small fragments can fly off during cutting, necessitating safety goggles.
  • Ventilation: Cutting Perspex can produce fumes, especially during Acrylic Laser Cutting, so make sure to work in a well-ventilated area.

The Importance of Regular Maintenance

To ensure that your tools are always up to the task, regular maintenance is a must.

  • Blade Sharpness: A dull blade can result in jagged cuts and might even crack the Perspex.
  • Calibration: Over time, your cutting tool’s settings can drift. Frequent calibration ensures that your measurements stay accurate.

Quality Control: Ensuring Consistency

Nothing is more frustrating than inconsistent cuts. Implementing a robust quality control process can save both time and resources.

  • Measurement: Use calipers or micrometers to regularly check the dimensions of your cuts.
  • Visual Inspection: Small imperfections like burrs or chipping can often only be caught through a detailed visual inspection.

Conclusion

Advanced Perspex cutting is both an art and a science. By understanding the nuances of the material and the capabilities of your tools, you can elevate your craft to new heights. Whether you’re working on a custom piece or mass-producing items, the techniques covered in this guide offer a roadmap to excellence in Perspex cutting.

More Blog

CNC laser cutting is a precise and automated process that uses a high powered laser....

The integration of hospital hygiene screens settings has become increasingly prominent driven by the need....

In the bustling city of Sydney the demand for customized Perspex solutions has seen a....