Perspex Cutting 101: Everything You Need To Know About Perspex

Introduction

Navigating the process of Perspex cutting can be an adventure of precision and creativity. Commonly used in a multitude of applications from home decor to commercial signage, Perspex is a versatile material that combines the visual clarity of glass with the durability and easy workability of plastic. This guide provides an in-depth look into the techniques, tools, and tips for effectively cutting Perspex, empowering both hobbyists and professionals to achieve immaculate results.

Understanding Perspex:

  • Composition and Benefits:

    • Material Overview: Perspex is a brand of acrylic (polymethyl methacrylate or PMMA), which is a lightweight, shatter-resistant alternative to glass.
    • Impact Resistance: It’s preferred in applications where safety and durability are a priority, offering impact resistance that’s significantly higher than glass.
    • Versatility: Perspex can be transparent, translucent, or opaque, and comes in a range of colors, thicknesses, and finishes.
  • Handling and Maintenance:

    • Scratch Awareness: The surface of Perspex is susceptible to scratches. Handling the material with care and keeping the protective film on during cutting is essential.
    • Heat Sensitivity: Perspex can soften at high temperatures (around 160°C or 320°F), so it’s crucial to avoid excessive friction heat when cutting.

Preparing for the Cut:

Perspex Cutting

  • Safety Precautions:

    • Protective Gear: Use ANSI-approved safety glasses and cut-resistant gloves to safeguard against accidental scratches and cuts.
    • Ventilation: Ensure good airflow, especially when power tools are involved, to disperse any fumes or acrylic dust.
  • Workspace Setup:

    • Stable Base: Utilize a sturdy, non-slip work surface.
    • Vibration Control: Secure the Perspex sheet with clamps or a vice, leaving the area to be cut overhanging the edge of the bench for ease of work.
  • Marking and Measuring:

    • Precision Marking: Employ a fine-tip non-permanent marker to draw the cutting line. A thin layer of masking tape can be used as a guide for clearer visibility.
    • Measuring Tools: Use a steel ruler or measuring tape for accurate measurements, ensuring straight lines and angles with a set square or T-square as needed.

Expert Tips for Precision Perspex Cutting:

  • Tool Selection:

    • Hand Cutting: Use a scriber or a plastic scoring knife for sheets less than 4mm thick. Applying moderate pressure, score along a straight edge several times before snapping the sheet over a hard edge.
    • Power Cutting: Choose a saw with blades designed for plastic—fine-toothed for a smoother cut, with a blade height just above the sheet thickness to reduce chipping.
  • Cutting Techniques:

    • Straight Cuts: Support the Perspex on either side of the cut line. If using a saw, let the blade do the work without forcing it, to prevent melting or chipping.
    • Curved Cuts: Draw the curve onto the Perspex sheet after measuring. When using a jigsaw, select a blade for curved cuts and proceed at a slow, steady pace to ensure accuracy.

Incorporating these detailed practices when cutting Perspex will not only achieve precision but also prevent material waste and extend the life of your tools. As we proceed with our guide, the following sections will address more specific techniques and troubleshooting tips to refine your Perspex cutting skills.

Troubleshooting Common Perspex Cutting Issues

When cutting Perspex, you may encounter several common issues. Here’s how to troubleshoot them:

  • Chipping and Cracking:

    • Cause: Usually a result of using the wrong type of blade or too much pressure.
    • Solution: Use a blade with more teeth per inch (TPI) and reduce the pressure you apply. Ensure the Perspex is firmly clamped down.
  • Melting:

    • Cause: Generated by too much friction or a blade that’s too hot.
    • Solution: Operate the saw at a higher speed while moving it slower through the material, or use a blade with fewer teeth to reduce heat.
  • Scratches:

    • Cause: Often occur when the protective film is removed too early or the Perspex slides over rough surfaces.
    • Solution: Keep the protective film on until the last moment and ensure your work area is free from debris.

Finishing Touches After Cutting Perspex

Once you’ve made your cuts, the edges of Perspex may need some finishing:

  • Smoothing Edges:

    • Sanding: Begin with a coarse grit sandpaper and work your way up to a fine grit for a smooth finish.
    • Flame Polishing: If you require a clear edge, carefully apply a flame polisher. Note that this requires practice to perfect and should be done in a well-ventilated area.
  • Buffing:

    • Manual Buffing: With a soft cloth and a suitable buffing compound, you can manually buff out small imperfections.
    • Machine Buffing: For a more professional finish, use a buffing wheel at a low speed to polish the edges.
  • Cleaning:

    • Wiping Down: Clean the Perspex with a soft, lint-free cloth and an acrylic cleaner or mild soapy water. Avoid ammonia-based products.

Advanced Techniques and Considerations for Perspex Cutting

For those seeking to take their Perspex cutting to a professional level, consider these advanced tips:

  • CNC Routing:

    • Precision Cuts: A CNC router can provide intricate cuts and engravings with high precision.
    • Design Software: Use CAD software to design your cut pattern, which is then translated into machine instructions.
  • Laser Cutting:

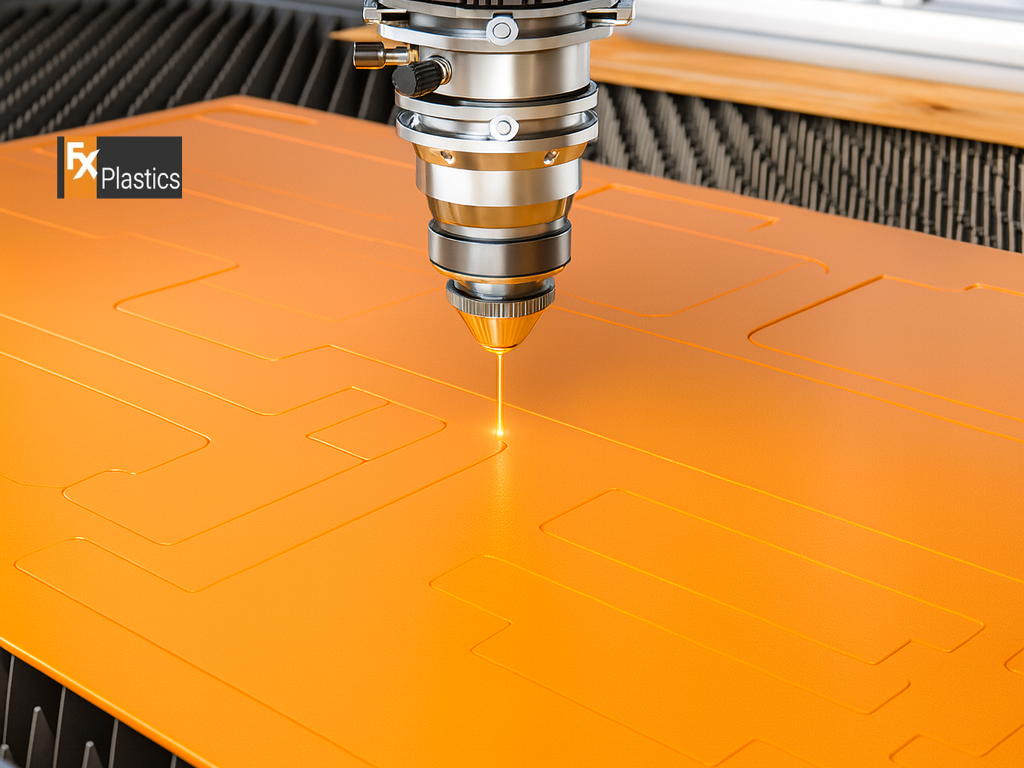
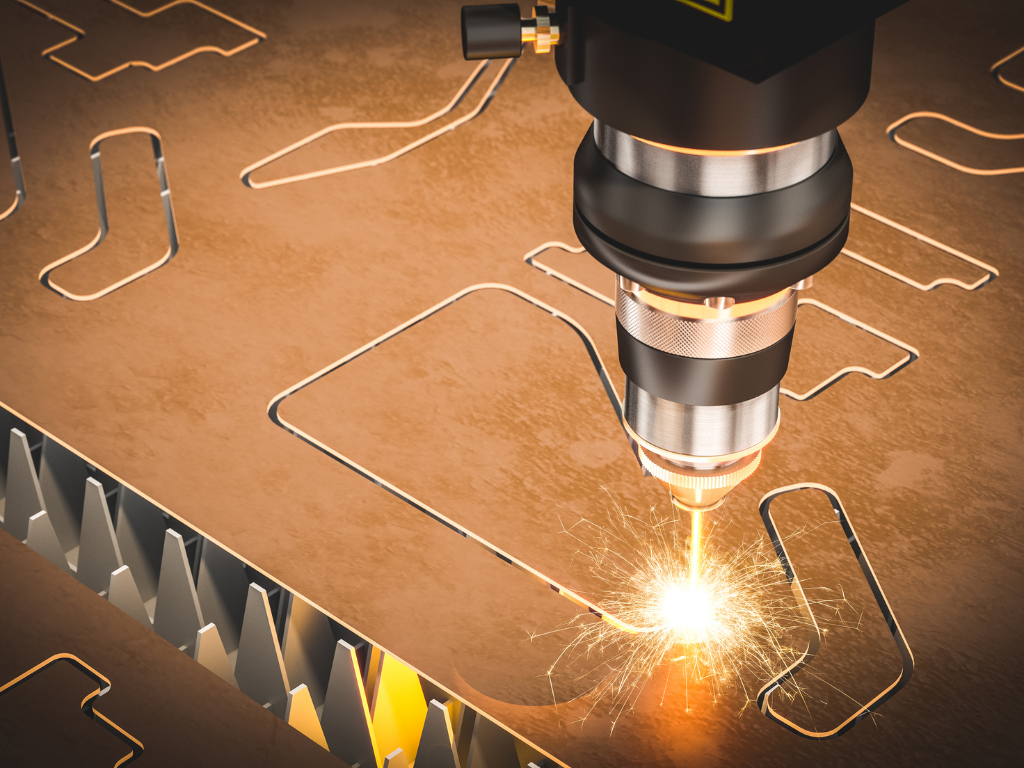
    • Fine Detail: Laser cutting is ideal for intricate designs and produces a polished edge as it cuts.
    • Speed and Efficiency: Lasers are fast and can replicate the same design multiple times with exact precision.

Remember, advanced techniques often require specialized equipment and training, so consider outsourcing complex jobs to professionals if you’re not experienced with these tools.

Safety and Environmental Considerations

Safety should always be your top priority:

  • Respiratory Protection: Always wear a dust mask or respirator when cutting or sanding Perspex to avoid inhaling fine particles.
  • Noise Levels: Cutting Perspex can be noisy, especially with power tools. Use ear protection to safeguard your hearing.

In terms of environmental considerations:

  • Recycling Offcuts: Perspex can be recycled. Save your offcuts and contact your local recycling center for acrylic plastics.
  • Disposal: Never burn Perspex, as it can release toxic fumes. Follow local guidelines for disposal of plastic waste.

By adhering to these guidelines and procedures, you can ensure that your Perspex cutting project is not only successful but also safe and environmentally conscious. Whether you’re a hobbyist working on a DIY project or a professional fabricator, these insights will help refine your technique and enhance the quality of your work with Perspex.

More Blog
Acrylic Sheets Sydney have become a top choice for many projects because of their impressive....

The role of materials in achieving precision and durability Choosing the right material is one....

Perspex sheets are highly durable and built to withstand outdoor conditions. One of their standout....