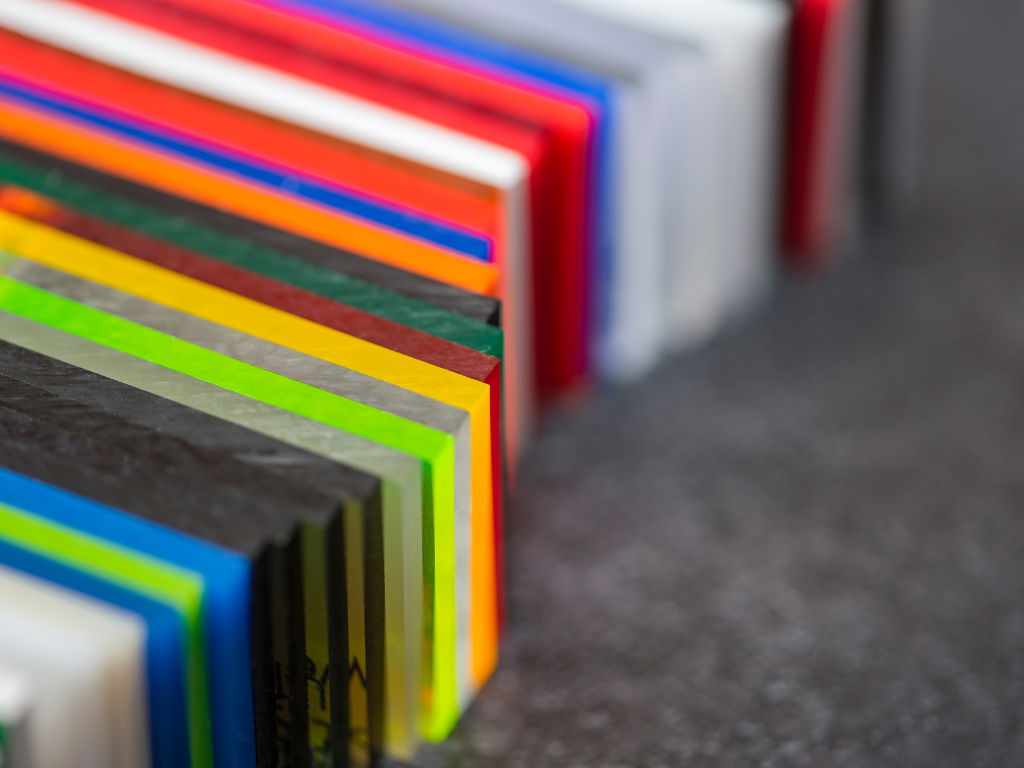
Acrylic sheets are ideal for creating custom-made projects such as signs, furniture, wall art, and many more
When it comes to creating custom-made projects, acrylic sheets are a popular choice because of their versatility, durability, and light weight.
To achieve the desired look for your project, you need to understand how to finish and paint your acrylic sheets. Painting and finishing techniques for acrylic sheet projects can make a huge difference in how your project will look and how long it will last.
In this article, we will discuss various techniques on how to paint and finish your acrylic sheet projects. We will go over sanding, priming, staining, and varnishing techniques that will help you achieve professional-looking results.
We will also provide tips on how to choose the best type of paint and finish to get the desired results.
Sanding: The first step in painting and finishing your acrylic sheet is to prepare the surface by sanding
Sanding helps the paint to adhere properly to the surface of the sheet. Use sandpaper that is 220-grit or higher and sand the surface of the sheet in a circular motion. Wipe the surface with a clean cloth to remove any dust before moving on to the next step.
Priming: Priming is an essential step in painting an acrylic sheet
It helps the paint to stick to the surface of the sheet and prevents the paint from flaking or peeling. Use a primer that is specifically designed for use on acrylic surfaces. Apply the primer in a thin, even layer and let it dry for at least an hour before moving on to the next step.
Painting: Once the surface has been sanded and primed, it is time to apply the paint
Acrylic paint is the best type of paint to use on acrylic sheets. You can choose from a wide range of colors and finishes, such as matte, glossy, or metallic. You can also mix different colors to create custom shades. Use a brush or a roller to apply the paint in a thin, even layer. Let the paint dry for at least an hour before applying a second coat if needed.
Staining: If you want to achieve a stained effect on your acrylic sheet, use a wood stain
Wood stain is ideal for acrylic sheets because it seeps into the material, creating a rich, even finish. Use a soft cloth or a brush to apply the stain in the direction of the grain. Let the stain dry for at least an hour before moving on to the next step.
Varnishing: Varnishing is the final step in painting and finishing your acrylic sheets
Varnish helps to protect the surface of the sheet from scratches and damage. Use a clear, acrylic varnish that is specifically designed for use on acrylic surfaces. Apply the varnish in a thin, even layer and let it dry for at least an hour before moving on to the next step.
Acrylic sheets are a versatile material that can be used for a variety of projects
With the right painting and finishing techniques, you can create custom-made projects that are both beautiful and long-lasting. The key to achieving professional-looking results is to prepare the surface properly, choose the right type of paint and finish, and apply each layer in a thin, even coat.
With these techniques, you can create acrylic sheet projects that will look great and last for years to come.