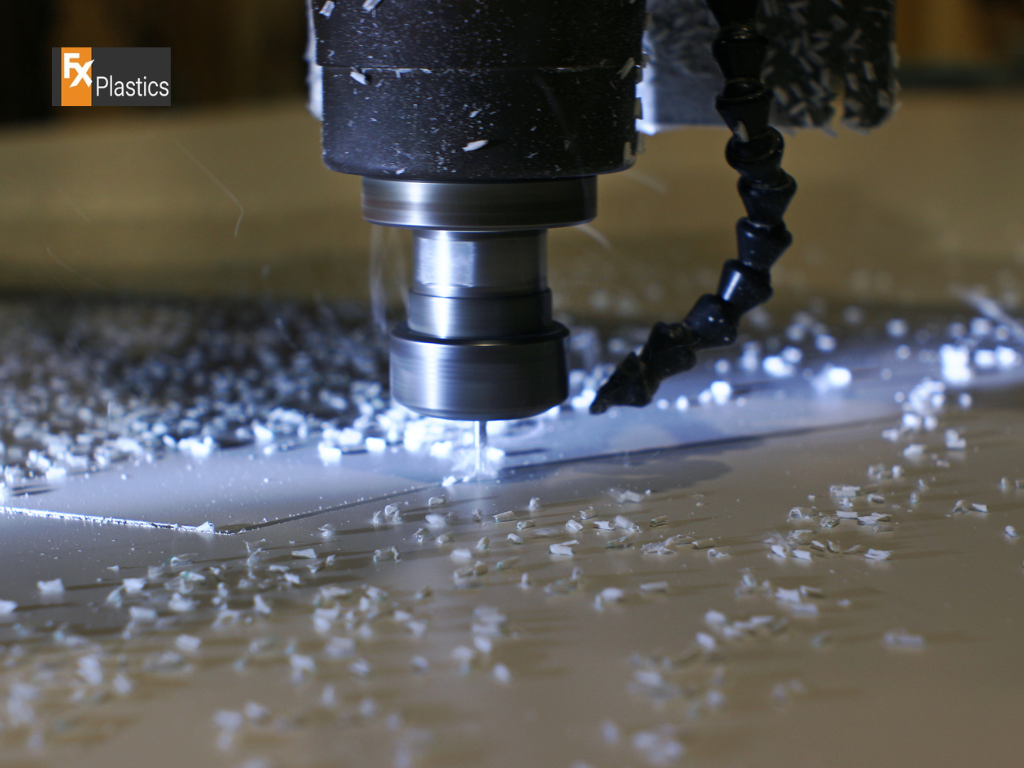
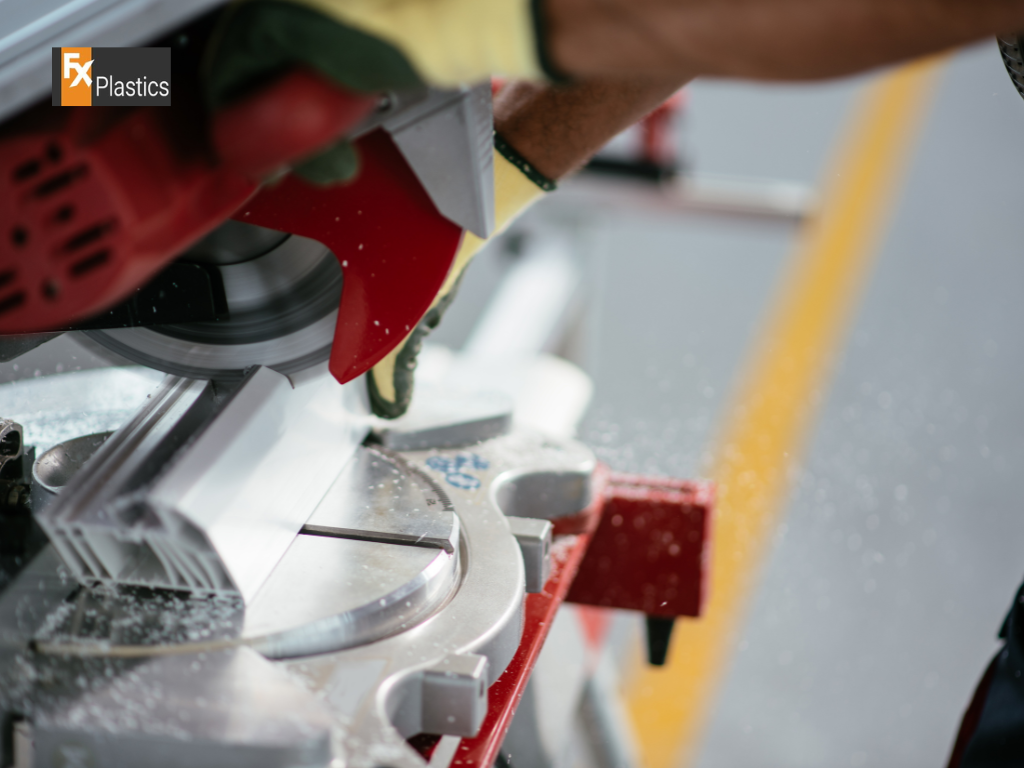
When it comes to working with Perspex cut to size, achieving a polished, professional look often hinges on the details, particularly the finish of the edges. Edge finishing is not merely a final touch; it’s a crucial step that significantly impacts the aesthetics and safety of Perspex projects. Raw, unrefined edges on perspex cut to size can detract from the overall appearance of a piece, leaving it looking unfinished. More importantly, they can pose safety risks, as rough or sharp edges can easily cause cuts and scrapes to users.
Types of Edge Finishes for Perspex

Flame Polishing
Flame polishing uses a high-temperature flame to melt and smooth the edges of Perspex, creating a glossy, transparent finish. This method is particularly suited for projects where the clarity and shine of the Perspex are paramount. The process involves running a flame quickly over the Perspex edge, allowing the surface to melt slightly and then cool to form a smooth finish. While effective, flame polishing requires a steady hand and experience to avoid overheating or burning the Perspex, which could lead to warping or discoloration.
Diamond Polishing
Diamond polishing is a mechanical method that uses diamond-tipped tools to achieve a high-quality, clear finish on Perspex edges. Suitable for straight or slightly curved cuts, this technique is preferred for its precision and the superior finish it delivers. The process involves grinding down the edges with a diamond cutter, followed by polishing to remove any marks left by the initial grinding. Diamond polishing is ideal for achieving a professional, high-gloss finish, especially on thicker pieces of Perspex where clarity is essential.
Buffing
Manual buffing is a simpler, more accessible method for smoothing out Perspex edges, suitable for hobbyists or projects where ultra-precision is not critical. This technique involves using a cloth wheel and polishing compound to buff the edges until they become smooth. While buffing does not produce the same level of clarity as flame or diamond polishing, it can significantly improve the feel and safety of the edges, making it a viable option for less critical applications.
Sanding
Sanding is the most basic form of edge finishing, ideal for preparing Perspex edges for further finishing or achieving a matte finish. Using various grades of sandpaper, the edges can be sanded down to remove sharpness and imperfections. Starting with a coarse grade and working up to finer grades, sanding can tailor the edge finish to the desired level of smoothness. Sanding is particularly useful for achieving a frosted look or preparing the edges for painting or gluing.
Choosing the Right Edge Finish

Factors to Consider
Selecting the appropriate edge finish for a Perspex piece is crucial to achieving both the desired look and functionality. Key considerations include:
- Intended Use: The environment and manner in which the Perspex will be used significantly influence the choice of edge finish. High-touch areas or pieces subject to wear and tear may require more durable finishes like diamond polishing, while decorative elements might benefit from the aesthetic qualities of flame polishing.
- Aesthetic Outcome: The visual impact you wish to achieve with your Perspex piece should guide the selection of the edge finish. For a sleek, modern look, a clear, glossy finish achieved through flame or diamond polishing is ideal. For a softer, more subtle appearance, sanding or buffing might be more appropriate.
- Material Thickness: Thicker pieces of Perspex can handle more intensive finishing processes like diamond polishing, which can enhance the edge’s clarity and reflectivity. Thinner materials may require a gentler approach, such as buffing, to prevent damage.
Matching the Edge Finish to the Design Concept
- Consider the overall design theme of the project. A polished, shiny edge might complement a contemporary design, while a matte finish could align better with a rustic aesthetic.
- Look at the other materials being used in the project. Matching the sheen and texture of the Perspex edges to other elements can help create a cohesive look.
- Think about the lighting. How light interacts with the edges of the Perspex can significantly affect the piece’s overall appearance. Transparent, polished edges can capture and refract light, adding a dynamic quality to the piece.
DIY Techniques for Edge Finishing

Step-by-Step Guide
- Safety First: Always wear protective eyewear and gloves when finishing Perspex edges to protect against flying debris and sharp edges.
- Sanding: Start with a coarse-grit sandpaper to remove any sharp edges, then progress to finer grits to smooth the surface. Sanding is suitable for achieving a matte finish or preparing the edge for further finishing.
- Buffing: Using a buffing wheel and a suitable polishing compound, buff the edges of the Perspex to a smooth finish. This method is relatively straightforward and can be done with basic equipment.
- Flame Polishing: This technique requires a gas torch. Quickly pass the flame over the Perspex edge to melt and smooth it. Flame polishing requires practice to avoid overheating and damaging the Perspex.
Limitations of DIY Methods
- DIY methods may not achieve the same level of precision and clarity as professional finishing services, especially for complex projects or pieces requiring a high-gloss finish.
- The quality of the finish may vary based on the tools available and the individual’s skill level. Inconsistent results can occur without experience.
- Safety concerns, particularly with techniques like flame polishing, may limit the feasibility of DIY finishing for some hobbyists.
When to Consider Professional Finishing Services
- For projects where a flawless, high-gloss finish is critical to the design.
- When working with thick or large pieces of Perspex that require specialized equipment for finishing.
- If the project involves complex shapes or curves that are difficult to finish evenly with DIY methods.
Professional Edge Finishing Services

Advantages of Professional Services
Opting for professional edge finishing services offers numerous benefits, particularly for projects that demand precision, have complex requirements, or involve high volumes of Perspex. Professional services ensure:
- High-Quality Finish: Experts possess the skills and equipment necessary to achieve a flawless finish, enhancing the aesthetic appeal and durability of the Perspex.
- Consistency: For projects requiring multiple pieces of Perspex, professional finishing guarantees uniformity across all pieces.
- Complex Project Handling: Professionals can tackle intricate designs and shapes, providing solutions that might be challenging to achieve through DIY methods.
- Time and Cost Efficiency: Leveraging professional services can be more time and cost-effective for large volumes or advanced finishing requirements, avoiding the need for investment in specialized tools.
Selecting a Professional Perspex Finishing Service
When choosing a professional service for Perspex edge finishing, consider:
- Expertise: Look for a service with extensive experience in Perspex projects similar to yours. Expert knowledge ensures they can recommend the best finish for your needs.
- Equipment: Ensure the service provider has state-of-the-art equipment for precision finishing, such as diamond polishers and CNC routers.
- Range of Finishes: The ability to offer a wide range of finishes, from flame polishing to diamond polishing, allows for customization according to the project’s specific requirements.
Maintenance and Care for Finished Edges

Guidance on Cleaning and Maintenance
Maintaining the edges of Perspex pieces is crucial for preserving their appearance and extending their lifespan. Follow these guidelines:
- Cleaning: Use a soft, lint-free cloth with mild soap and water to clean the edges. Avoid abrasive cleaners or pads that can scratch the surface.
- Regular Inspections: Periodically check the edges for signs of wear or damage. Early detection allows for prompt maintenance or repair.
- Protection: When not in use, protect the Perspex from dust and scratches by storing it in a soft, dry place.
Minor Repairs and Touch-Ups
For minor scratches or nicks on the edges:
- Light Scratches: Buff out light scratches with a fine-grit sandpaper, followed by polishing for a smooth finish.
- Deep Scratches: Deeper scratches may require professional repair, especially if clarity and aesthetics are crucial.
Conclusion
The choice of edge finishing technique plays a pivotal role in the success of a Perspex project, significantly impacting both its form and functionality. Whether opting for a DIY approach for simple projects or engaging professional services for more complex or high-volume needs, the right finish can dramatically elevate the project’s overall quality and appearance. Proper maintenance and care further ensure that the beauty and integrity of Perspex pieces are preserved over time, showcasing the material’s versatility and durability. By understanding and applying the principles of Perspex edge finishing, designers, fabricators, and hobbyists alike can achieve outstanding results that perfectly blend aesthetics with practicality.

